 VEAcom
 guide
A short guide to installing VEAcom, opening studies and the tools used most in day-to-day reading. In the app, ? or F1 opens the keyboard and mouse help.
Installation
Windows
- Download the Windows installer from the Download page.
- Run the file. VEAcom is installed for your user account only; no administrator rights are needed.
- If Windows warns about an unknown publisher, choose More info → Run anyway.
Mac (Apple silicon)
- Download the Mac disk image (.dmg) and open it.
- Drag the app icon to the Applications folder.
- If macOS shows a warning the first time, right-click the app and choose Open.
The version number is shown at the bottom right of the app; the language button is in the bottom bar as well.
Opening a study
- Folder: Ctrl O or the open button on the toolbar. Subfolders are included.
- Archive: ZIP archives are read without extracting them first. RAR archives need to be extracted to a folder first.
- CD/DVD: the CD button opens the DICOMDIR on the disc.
- Drag and drop: drop a folder, file or archive onto the window.
The import window shows the drives and pinned folders; folders and archives can be selected together.
Folders of PNG and JPEG pictures open too, each folder as one series. They are not DICOM, so they carry no physical size or patient orientation; a notice at the top of the screen says so.
Series list
- Series are grouped by patient and study.
- MR series whose names say nothing get an estimated sequence name, such as T2 Axial, T1 Coronal C+, DWI b1000 or ADC.
- Click a series to open it, or drag it into a pane.
- Select several series with Ctrl or Shift; they open side by side.
- The right-click menu removes a series from the list or clears the list.
- The search box at the bottom searches series names, estimated sequences and patient names, ignoring accents.
Layout and linking
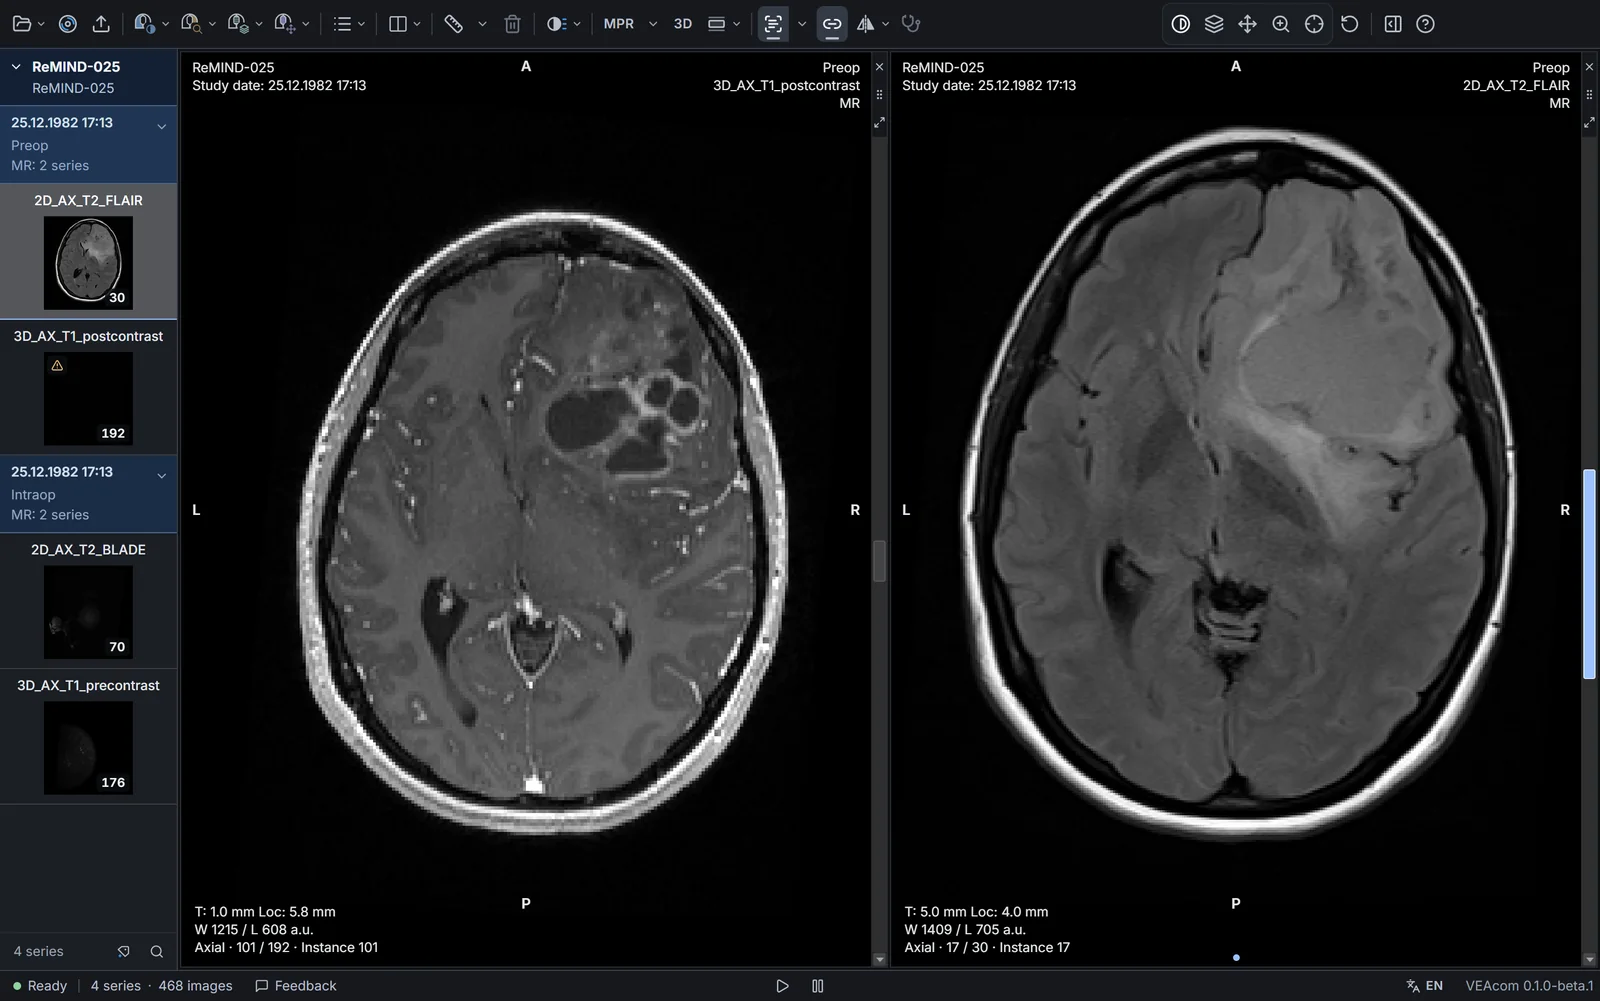
- The grid button offers 1×1, 1×2, 2×2, 1×3 and 2×3 layouts.
- Panes swap places when dragged by the handle in their header; the X at the top right closes a pane.
- With the chain button (linking) on, series in the same plane scroll together. Picture series are linked image by image.
- In a 1×2 layout, putting a DWI in one pane brings its ADC into the other (or the other way round) and turns linking on. A short notice with an Undo button appears in that pane.
MPR, thick slab and 3D
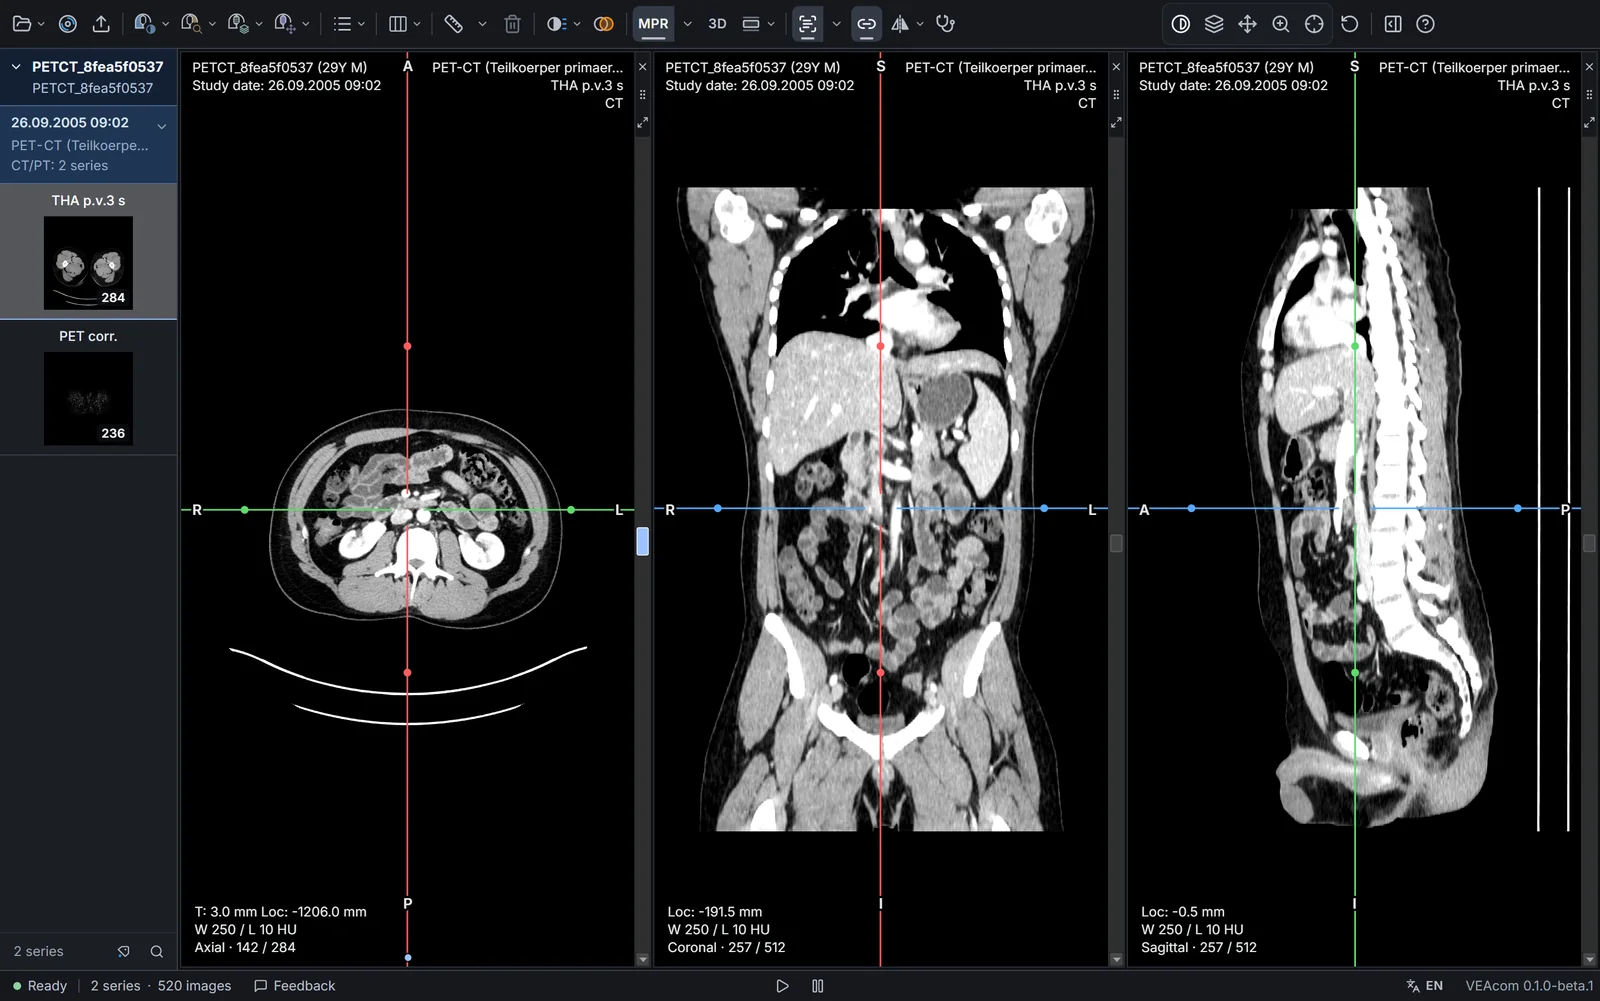
- M or the MPR button opens the axial, coronal and sagittal planes side by side. A single plane can also be chosen from the MPR menu.
- Clicking the plane name in the corner of a pane moves to the next plane.
- Drag the handle on another plane's line to cut an oblique slice. Shift turns it in 5° steps, Ctrl in 10° steps.
- The Thick slab menu gives MIP, MinIP and mean over 5–40 mm. Only the slice on screen is computed.
- The 3D button opens a CT series in 3D next to the images: bone or soft tissue threshold, cropping, rotation. A point picked in 3D is shown on the slices as well.
PET/CT fusion
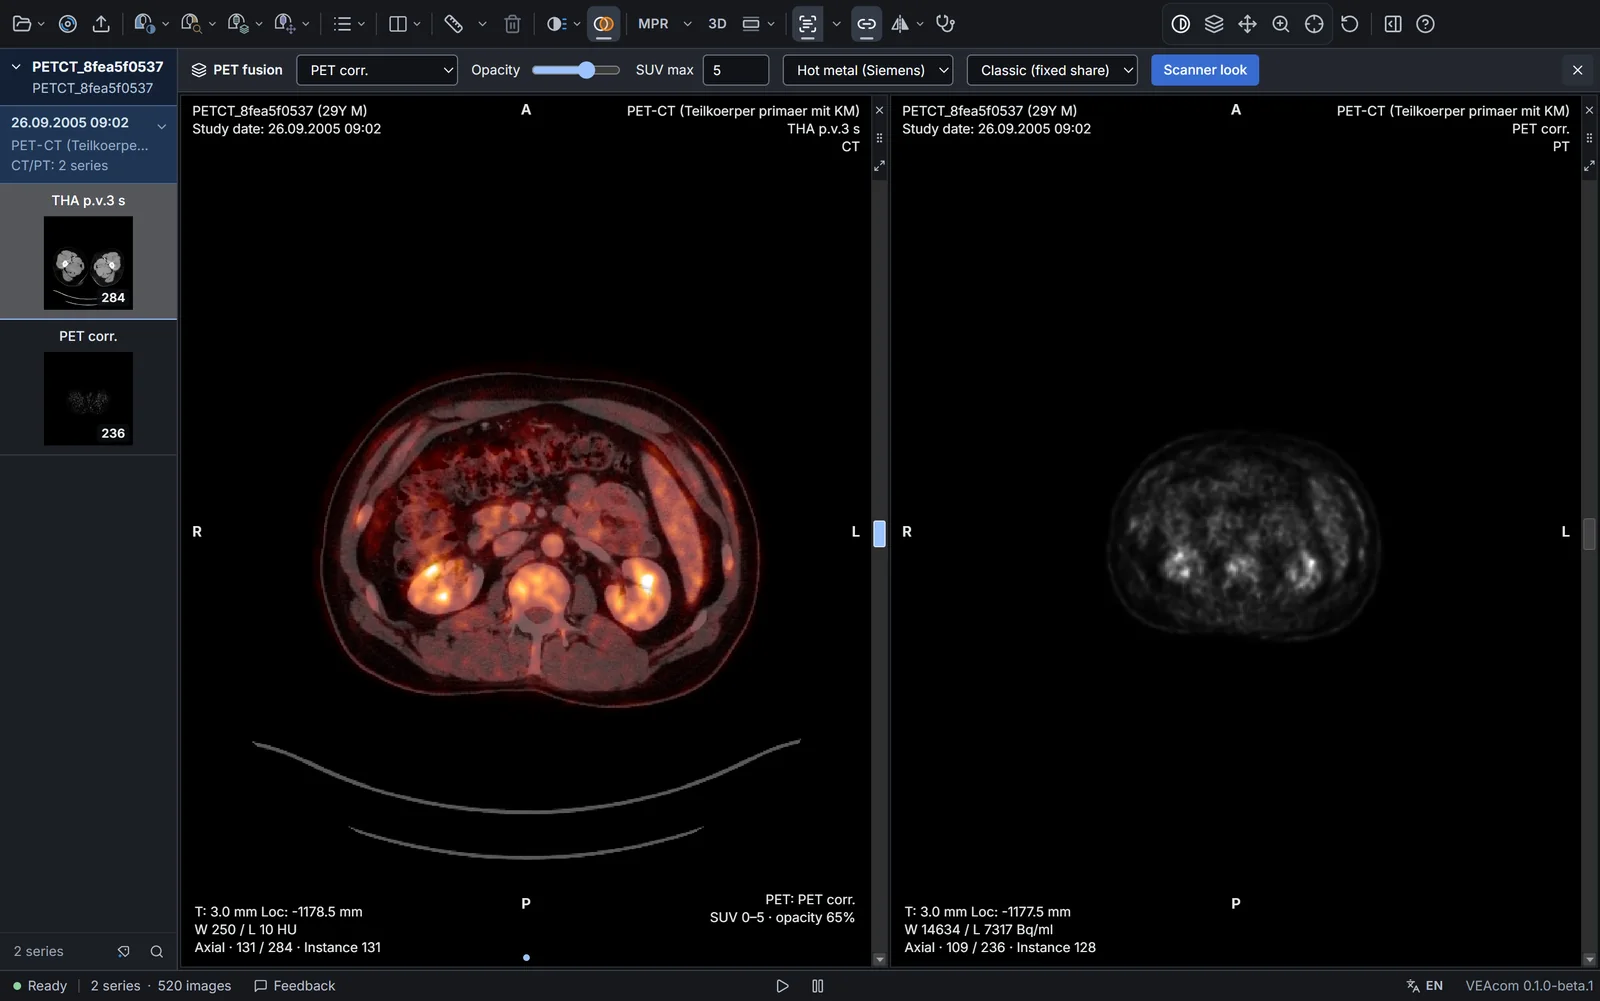
- When a study has a PET series, a fusion button appears on the toolbar. Pressing it in a CT pane lays the PET over the CT.
- The strip at the top sets the PET series, opacity, upper SUV limit, colour palette and blending. Scanner look applies the colour scheme of the scanner that acquired the PET.
- Ctrl + drag changes the PET's upper limit and opacity.
- A ROI or point drawn on the CT also shows the SUV in the PET.
Measurements
| Tool | Key |
|---|---|
| Length | L |
| Angle | A |
| Rectangle ROI | R |
| Ellipse ROI | E |
| Text | T |
- Measure by dragging or by clicking point to point. A freehand ROI is drawn by moving the mouse around; Enter finishes it, Esc cancels.
- Drag a measurement's points, its label or the whole measurement to adjust it. Delete removes the selected measurement.
- Ctrl Z undoes, Ctrl Shift Z redoes.
- Clicking a measurement in the list in the right panel goes to its slice and selects it.
Pre-operative checklist
On a CT, the stethoscope button opens the checklist. There are separate lists for paranasal sinus CT and temporal bone CT; once the study is recognised, only the matching list is shown.
- Each item is marked separately for right and left: Yes, No or ? (not assessable).
- The target icon next to an item notes the slice on screen; the "Slice N" link under the item goes back to it.
- Copy for the report copies the result to the clipboard as plain text.
Export
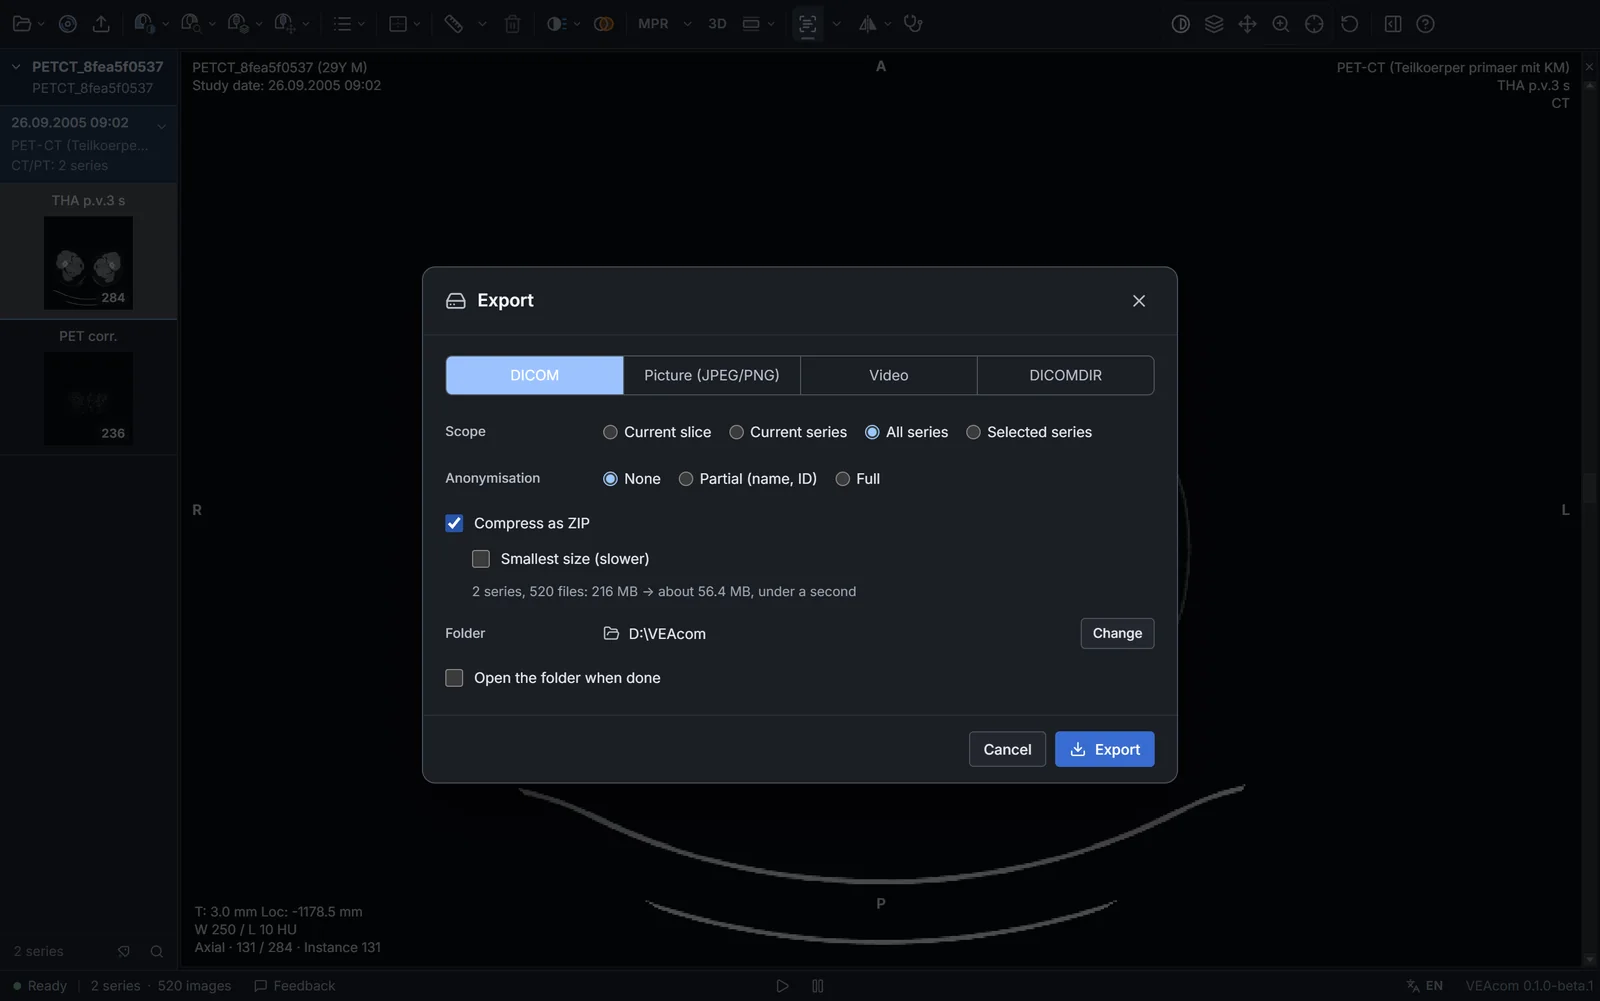
Ctrl E opens the export window. Files are written to the last folder used (the Desktop the first time), and the export runs in the background.
- DICOM: the current slice, the current series, all series or selected series. No anonymisation, partial or full.
- Compress as ZIP: one ZIP per patient, with a folder for each series. Images are compressed with lossless JPEG-LS and checked against the originals. Smallest size also recompresses images that are already compressed. The window shows an estimate of the size and time.
- Picture: PNG or JPEG; the image on screen, the series, or all panes on screen. More settings: size, quality, slice range and file name prefix.
- Video: MP4; frame rate, slice range and recording in reverse.
- DICOMDIR: CD, USB or folder. The neuronavigation option writes uncompressed images.
Anonymisation does not remove text burned into the images. Check the files before sharing them.
Keyboard and mouse
| Action | Shortcut |
|---|---|
| Open folder | Ctrl O |
| Export | Ctrl E |
| Contrast / slice / pan / zoom / crosshair tool | W S P Z C |
| Three planes (MPR) | M |
| Automatic window (1–99%) | Shift A |
| Annotations / reference lines | F12 / Ctrl F12 |
| Hide patient data / hide measurements | Shift F12 / Alt F12 |
| DICOM tags | Ctrl Alt T |
| Help | ? or F1 |
On a Mac, use ⌘ instead of Ctrl.
Common situations
"Not DICOM but picture files" notice
Shown for studies downloaded as JPEG or PNG. These files carry no sequence or position information, so estimated sequence names, DWI/ADC pairing and measurements in millimetres are not available. Download the study as DICOM if you can.
Software drawing notice
When the graphics driver is not supported, VEAcom draws the images in software and says so. The images are shown correctly, only more slowly. Updating the graphics driver usually fixes it.
A series does not open
Hover over the warning icon on the series card to see the reason. Damaged or unsupported files are skipped and the rest open.